First Steps
Processing worflow of an imaging session
The most important module of GeSS is called gess.gessengine.
It goes through the whole processing workflow of an imaging session:
Locate the master frames to be applied to calibrate the light frames, whether there are in a library or need to be processed first.
Start Siril and apply some user preferences (bitdepth, compression)
Prepare the masterframes if required or copy the masters from your masters libraries.
Preprocess the light frames (and possibly extract the Ha/OIII layers - OSC only).
Extract background.
Register.
Stack.
This workflow is the complete set of actions that gessengine can run. However, you don’t need to go through all the steps. What actions are to be taken is fully configurable through a bunch of options that are passed to the module. Say, if you want to stop just after lights are calibrated, just set the options accordingly and gessengine will stop there.
gessengine is optimized to avoid repeating steps, should you want to apply different processings to the same session. For instance, it will store masters already stacked in masters subfolder and re-use them (see also the section about storage folders). It will also try to avoid conversion and preprocessing steps if they have already been performed previously.
Warning
If you are trying different versions of masters for some testing of your liking, don’t forget to delete masters and processxx folders before trying to process again your session!
Note
Important: Before trying to run GeSS in any kind of way, you need to have set gess default options.
Interactive mode
The simplest way is to process a single imaging session is to start gessengine in interactive mode:
From a shell:
gess -i
From Python:
from gess import gessi
success,res=gessi.Run()
This will:
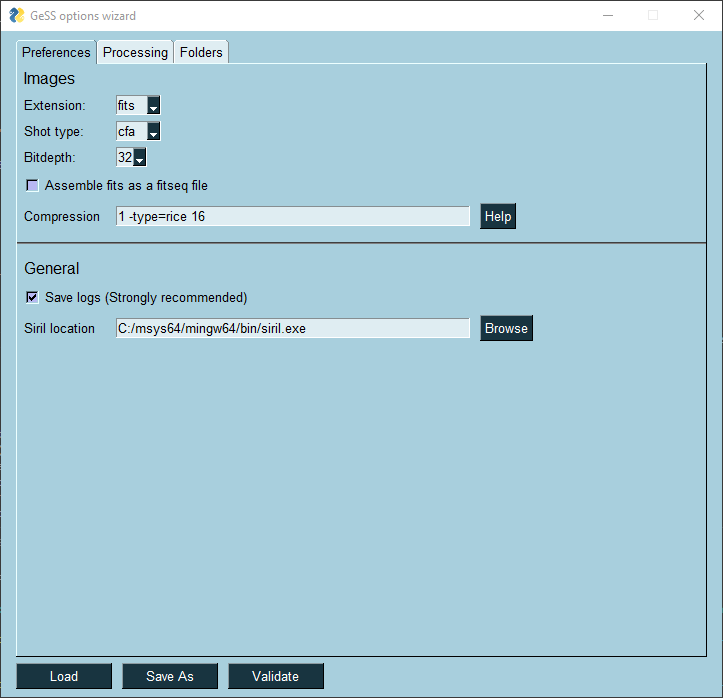
start a GUI to review the default options and to modify some of them if you wish. Press Validate when done.
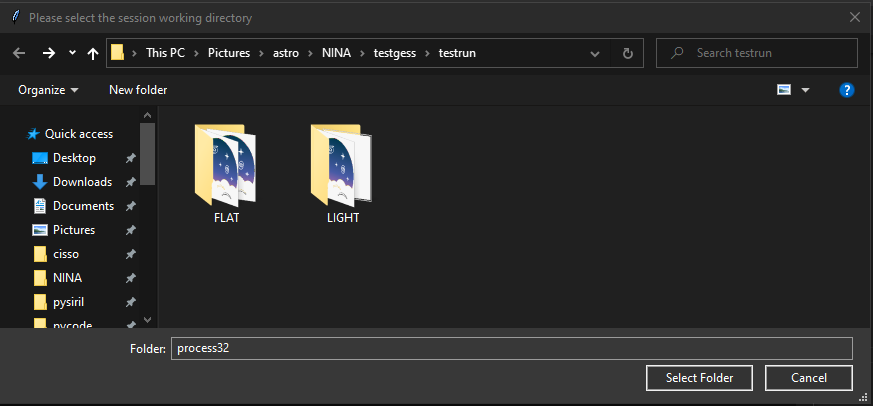
ask for the working directory,
run the workflow.
Command line mode
If you prefer a more command line approach, you can call gessengine directly.
From a shell:
gess -e /MyAstroPics/M31/2021-01-01
gess -e /MyAstroPics/M31/2021-01-01 gess_altopt.cfg
gess -e /MyAstroPics/M31/2021-01-01 doHO=1 dostack=0
gess -e /MyAstroPics/M31/2021-01-01 gess_altopt.cfg doHO=1 dostack=0
From Python:
from gess import gessengine
from gess.common.options import options

#success,res=gessengine.Run(workdir,opt=None,app=None,dryrun=False)

success,res=gessengine.Run('/MyAstroPics/M31/2021-01-01')

opt=options(optiontype='gess',addcfgfile='gess_altopt.cfg').getoptions()
success,res=gessengine.Run('/MyAstroPics/M31/2021-01-01',opt)

myopts={
    doHO = True,
    dostack = False
}
opt=options(optiontype='gess',dictcfg=myopts).getoptions()
success,res=gessengine.Run('/MyAstroPics/M31/2021-01-01',opt)

opt=options(optiontype='gess',addcfgfile='gess_altopt.cfg',dictcfg=myopts).getoptions()
success,res=gessengine.Run('/MyAstroPics/M31/2021-01-01',opt)
gess -e /MyAstroPics/M31/2021-01-01 runs gessengine in the folder /MyAstroPics/M31/2021-01-01. The worflow is executed as per your default options.
gess -e /MyAstroPics/M31/2021-01-01 gess_altopt.cfg does the same but updates the default options with the values specified in gess_altopt.cfg. In the Python call, opt is a DictX instance containing additional options. Such object can be easily built using the options class.
This additional option file specifies some (or all of the) values to be updated. This can be handy if you want, for instance, to modify the names of some folders. The example below shows what gess_altopt.cfg could modify if your default options are set for imaging with NINA but you also shoot with APT. APT does have the same names as NINA for light/flat/dark/bias folders, nor uses the same FITS extension.
{
    "ext": "fit",
    "lights": "LIGHTS",
    "flats": "FLATS",
    "darks": "DARKS",
    "biases": "BIASES",
}
Other examples that come to mind are:
specifying the location of master libraries if you use another camera. Default options could specify paths for camera#1 and gess_cam2.cfg updates for camera#2,
specifying the location of flats library if you use another telescope,
specifying Ha/OIII extraction for sessions where you’ve used a dual narrowband filter, though this is easier done with the 3rd syntax shown right below.
gess -e /MyAstroPics/M31/2021-01-01 doHO=1 dostack=0 runs gessengine with updated options specified by an ‘=’ sign. You can specify as many as you want though it is probably useful if you only change just a few numerical values. Otherwise, the syntax shown above with an addtional file is probably more practical.
gess -e /MyAstroPics/M31/2021-01-01 gess_altopt.cfg doHO=1 dostack=0 does the same, but updates first with the additional file gess_altopt.cfg then with the values specified with an ‘=’ sign.
Multisession mode
Multisession mode is a “manual” mode for gathering preprocessed lights from multiple sessions. “Manual” means that the user need to select one by one the folders to be merged. This can be useful is you have only a couple of sessions on a target and not that many filters. If you want to process many sessions with many filters, you should probably turn to Copyback mode.
To run multisession, from a shell:
gess -m
From Python:
from gess import gessmultisession

success,res=gessmultisession.Run()
The steps are as follows:
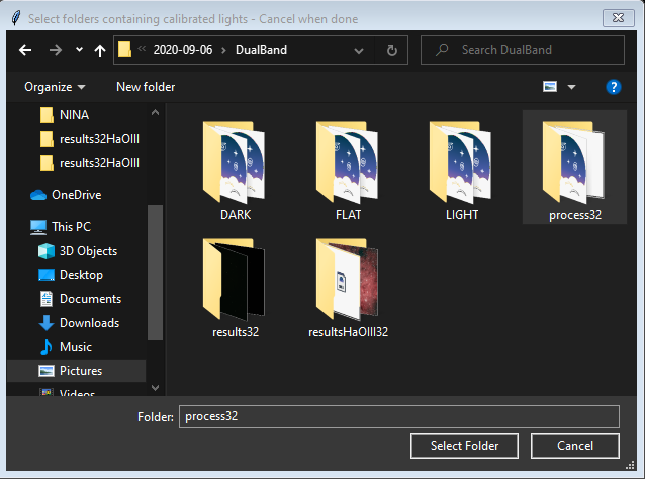
Select a folder containing calibrated lights (if you have calibrated them using GeSS, the folder should be named process16 or process32)
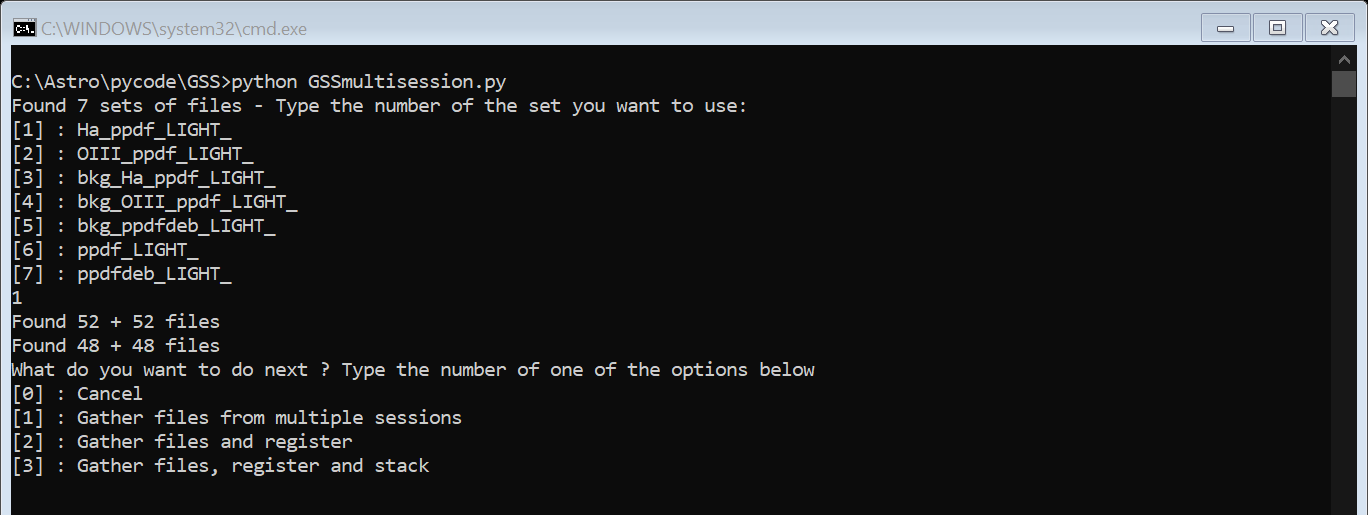
Select the sequence that you want to use by entering its number:
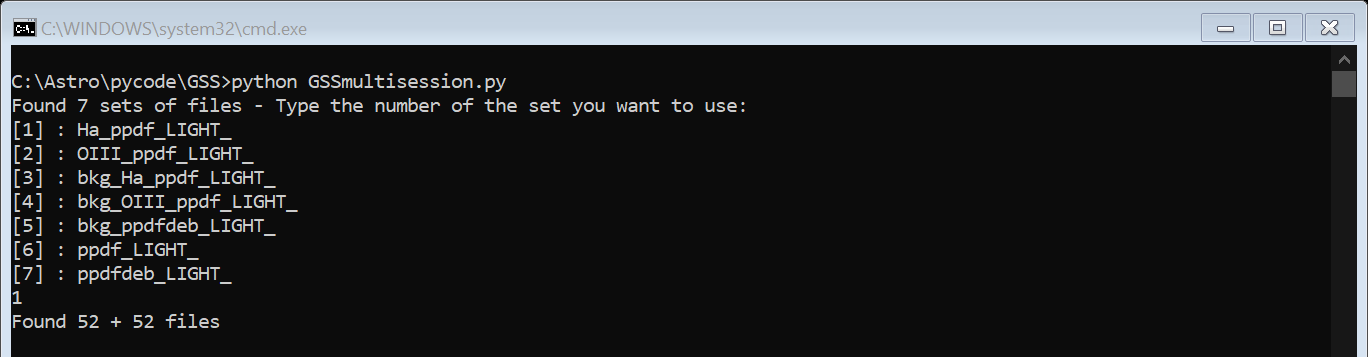
In the example above, 52+52 files have been found because an Ha sequence from an Ha/OIII extraction was selected. Multisession will automatically collect the OIII sequence as well, hence why there are 52+52 files.
Indicate what you want to do with these images:
Multisession will then ask for a directory where to store the newly created sequence (cannot be one of the folders you have already selected). It will proceed with copying the files and re-numbering them as required, and finally applying the processing specified.